Build a very fast, highly customizable static website using Hugo in less than 10 minutes
Hugo is a fast static website builder written in Go language. The advantage of static sites is that the site can be hosted easily since it does not require any server-side scripting like PHP, Ruby, or a database like MySql. Static sites are very fast since there is very little server-side processing involved. Most importantly, there are several platforms where you can host your website for Free! That’s right, absolute 0 monthly costs.
In fact, if your website is content-oriented, you should make a static site rather than taking the troublesome, error-prone route of setting up a complicated CMS like WordPress.
What is a static website?
In the case of CMS like WordPress, the content you write is saved in the database. When the user requests for a page, it triggers the PHP code to fetch the content from the database, combine different parts. Let the theme and scores of plug-ins do their part to the content and then finally return the content to the user. As you can see, there are so many pieces working together to deliver the page. In order to cope with the inefficiencies of these parts, you have to set up caches, powerful server and many more.
In the case of a static website, you write the content on your local computer or laptop and then run a program. The program combines the content, with the other essential parts of your website (like header, footer, logos) and generates the page. You upload the generated page to a webserver. When the user requests a page, all that the web server has to do is to serve the ready-to-serve page! No database, no scripts no complication.
Why Hugo
Hugo is very fast. If you have used other static site generators you will notice the difference immediately.
Secondly, Hugo is designed with building content sites in mind. So you tend to organize the content better. If you use the features right, your users will be able to find the content easier.
If you know HTML and CSS, you can build your site your way. In fact, I would recommend you build your theme for your website than using a third-party “theme”. If you are like me, you will love the control this gives you.
Get Started
Install Hugo
Go to the Hugo Getting started page and follow the instructions to install Hugo. In my case, on a mac laptop with brew installed, the step is simple:
brew install hugo
Create a new Hugo website
In your terminal, issue the following command:
brew new site mywebsite
Hugo creates a folder mywebsite with several sub-folders in it

Let us see how does our new website looks like.
cd to your mywebsite folder and run hugo serve
cd mywebsite
hugo serve
Hugo throws a message that our website is ready at address localhost:1313
Enter that address in your browser and … … Nothing!
You will get a blank page.
Don’t worry this is because we don’t have any content or theme yet
Press Ctrl+C to stop the Hugo server and return back to the command prompt
Create a theme
By a theme, we define a structure and style of our website. It is a good exercise to make your own theme because that will give a better idea of how each part comes together to a complete site.
Now issue the following command to generate a blank Hugo theme:
hugo new theme mytheme
Hugo creates a sub-folder mytheme inside the themes folder
select the theme
Open your text editor (VSCode is nice. You can use your favorite one)
There is a config.toml file in the root folder of the website (mywebsite/config.toml) Open the file config.toml.
This is the file where you configure the settings of the website.
Add the following line to the config.toml file.
theme="mytheme"
Your config.toml will look like this:
baseURL = "http://example.org/"
languageCode = "en-us"
title = "My New Hugo Site"
theme="mytheme"
Now, Let us look into the contents of the mytheme folder
Index page
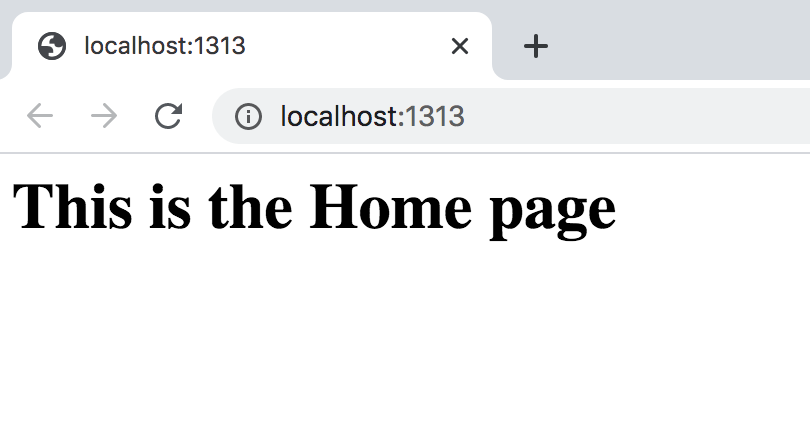
You can see there is an index.html page in the mytheme folder. This template is used to render the home page. Let’s just add some content and see whether that appears in our new website Update index.html
<h1>This is the Home page</h1>
Run hugo serve again. This time when you open localhost:1313 you will see the content we entered in the index.html file.
Layouts
Now open the folder named layouts.
The layouts folder contains the HTML files that define the overall layout of the website.
You can have multiple layouts. The _default folder contains the layout that is used by default.
There is a file named baseof.html This file is the base HTML template file.
Open the baseof.html file. There will be some default contents in the baseof.html file. Replace the contents with the following:
<!DOCTYPE html>
<html>
    <body>
        <h1>My New Hugo Site</h1>
        <hr>
        {{- block "main" . }}{{- end }}
    </body>
</html>
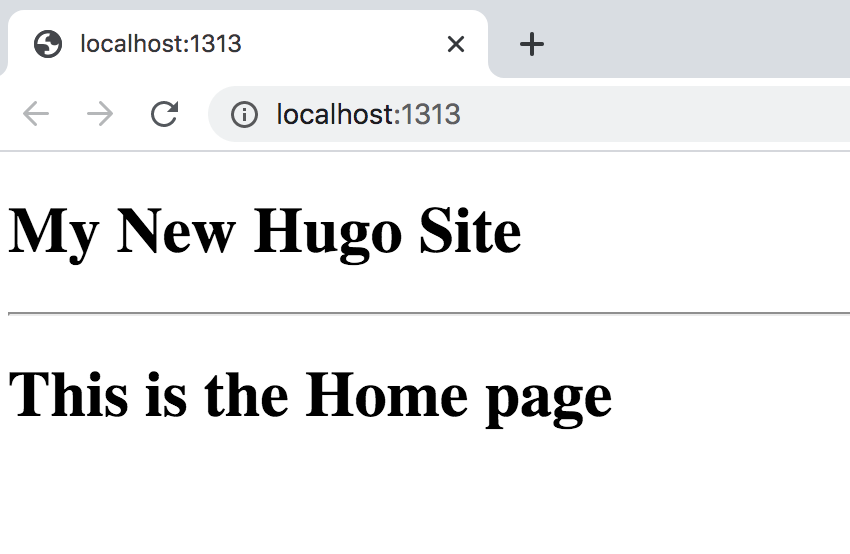
Then open the index.html page again and update the contents like this:
{{ define "main" }}
<h1>This is the Home page</h1>
{{end}}
Reload your webpage in the browser and you should see the home page like this:
Hugo replaces this block definition: {{- block "main" . }}{{- end }} in the baseof.html template with the main block from the index page and renders the resulting page.
Pages
Let us now create a page. First, we have to update the template for single pages. open themes/personal/layouts/_default/single.html file and update it:
{{ define "main" }}
{{ .Content }}
{{end}}
This means that for the main block we had defined in the baseof.html template, just place the content of the page. (We will see all the variables you can use in the template later. Content is the content of the page being rendered. Title is the title of the page)
Create a folder lesson1 in the content folder. Then create a file page1.md. .md files are called Markdown files. It is a simple text file format, very useful for writing content. The default content format of Hugo is Markdown
Enter some content for page1.md like this:
## This is Page 1
Now go to the web address localhost:1313/lesson1/page1/
You should see the web page rendered like this:
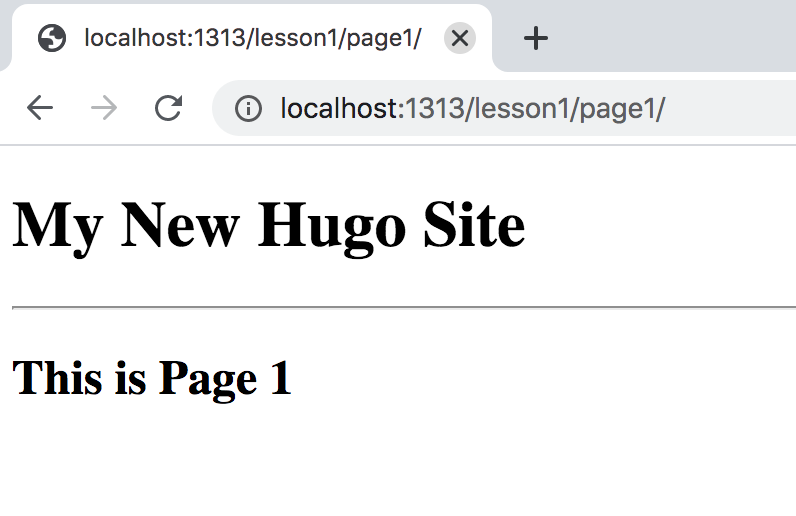
Notice again how the baseof.html template is used to render the page.
Style using Bootstrap
Next step is to add some styling to our website. Since focus of this tutorial is to see the workings of Hugo, lets style with Bootstrap for this first version. Bootstrap is beginner friendly and helps getting started quickly. Go to getbootstrap.com for a quick introduction.
Let’s modify baseof.html. First, add link to the bootstrap css file. Then add a Navbar and a footer. Alternatively, you can customize one of the examples from bootstrap website.
<!DOCTYPE html>
<html>
    <head>
        <meta charset="utf-8">
        <meta name="viewport" content="width=device-width, initial-scale=1, shrink-to-fit=no">
        <title>My New Hugo Site</title>
        <!-- Bootstrap CSS -->
        <link rel="stylesheet" href="https://cdn.jsdelivr.net/npm/bootstrap@4.6.0/dist/css/bootstrap.min.css" integrity="sha384-B0vP5xmATw1+K9KRQjQERJvTumQW0nPEzvF6L/Z6nronJ3oUOFUFpCjEUQouq2+l" crossorigin="anonymous">

    </head>
    <body>
        <nav class="navbar navbar-expand-md navbar-dark bg-secondary">
            <div class="container-fluid">
              <a class="navbar-brand" href="#">MySite</a>
              <div class="collapse navbar-collapse" id="navbarsExampleDefault">
                <ul class="navbar-nav me-auto mb-2 mb-md-0">
                  <li class="nav-item">
                    <a class="nav-link active" aria-current="page" href="#">Home</a>
                  </li>
                  <li class="nav-item">
                    <a class="nav-link" href="#">Link</a>
                  </li>
                </ul>
                </div>
            </div>
        </nav>
        <main class="container mt-2 min-vh-100" >
                {{- block "main" . }}{{- end }}
        </main>
        <footer class="bg-dark p-3 mt-4 container-fluid">
            <a href="#" class="text-light">About</a>
        </footer>
    </body>
</html>
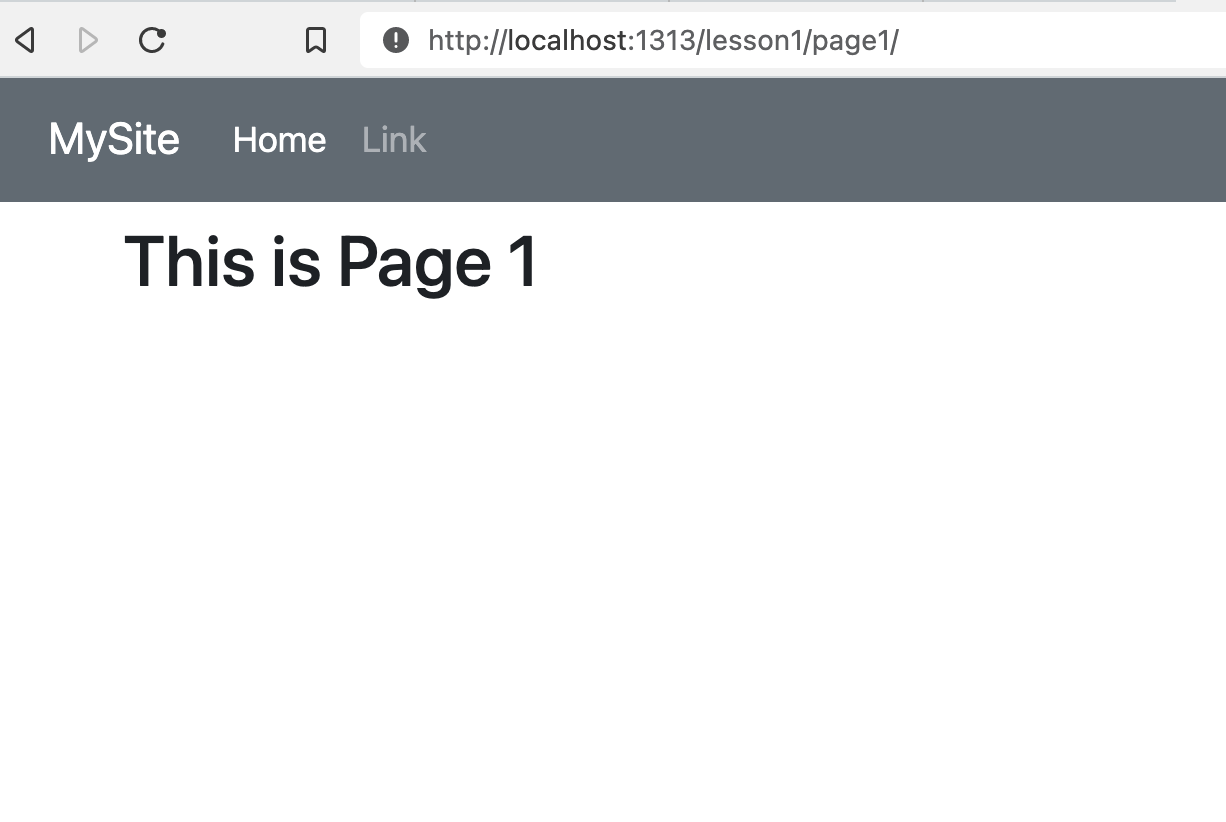
Don’t forget to add the {{- block "main" . }}{{- end }} block.
Go ahead and preview your updated website. Page 1 should look better now
Publishing your website
In order to generate your website, run hugo command. Hugo generates your website in the public folder. Just upload contents of your public folder to a static web hosting service and your website is online!
There are a number of static site hosting services.